A Complete First Podcast Kit Under £300
You can start a good-sounding podcast for under 300 pounds. A complete first kit - mic, arm, headphones and software - and where the money is best spent.
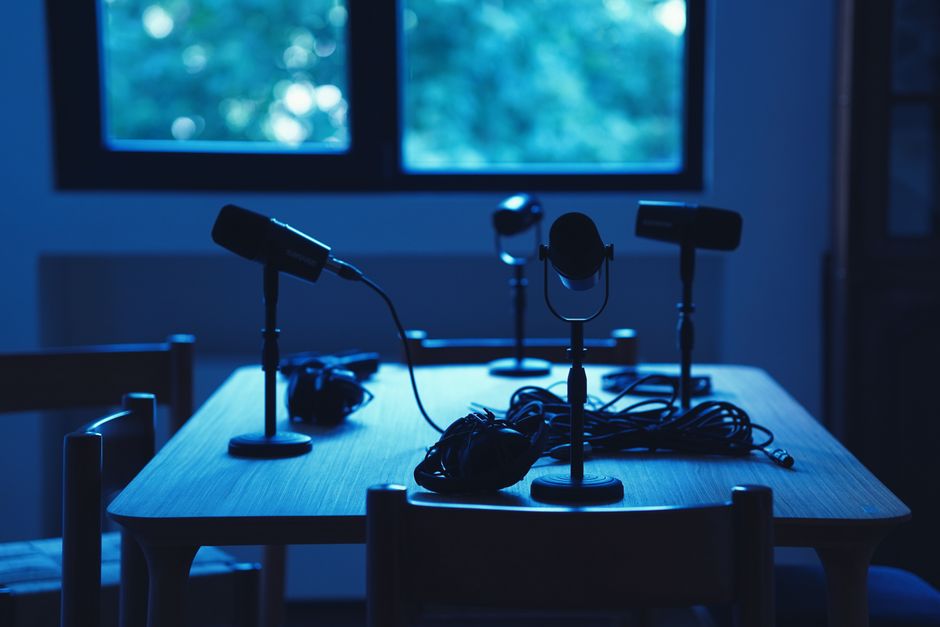
You do not need a studio or a big budget to start a good-sounding podcast. Under 300 pounds buys everything you need to record clean, professional audio at a desk, as long as you put the money in the right places. The trick is to spend on the things that shape your sound and skip the things that do not.
What do you actually need to start a podcast?
The essentials are shorter than most gear lists suggest:
- A good microphone, ideally a dynamic USB mic that ignores room noise
- A boom arm or sturdy desk stand to position it correctly
- A pop filter to tame plosive p and b sounds
- Closed-back headphones so you can monitor without the sound leaking back into the mic
- Free recording and editing software
That is genuinely enough to sound good. Everything beyond it is refinement.
Where should the money go?
Put most of your budget into the microphone, because it has the biggest effect on how you sound, and choose a dynamic mic if your room is untreated. After that, a decent boom arm is worth having because it lets you get close to the mic and keeps it out of shot. Headphones can be modest as long as they are closed-back. Spend nothing on editing software to start with, and nothing on fancy acoustic panels until you have recorded a few episodes and know what your room actually needs.
A sample kit under 300 pounds
A proven starter setup: a hybrid dynamic USB microphone as the centrepiece, a sturdy boom arm and pop filter, a pair of closed-back monitoring headphones, and free editing software such as Audacity. That combination records clean, finished-sounding audio in a normal room and leaves room in a 300-pound budget for a windscreen and a couple of soft furnishings to cut echo. It is a kit you can grow from rather than replace.
What can you skip at the start?
Plenty. You can skip a mixer or audio interface if you buy a USB mic, skip paid editing software while free tools do the job, and skip an expensive pair of studio monitors, since headphones are better for podcasting anyway. Elaborate lighting and video gear only matter if you film the podcast, and even then they can wait. Start with clean audio and a habit of publishing; upgrade only when a specific limitation is holding you back.
Dynamic or condenser: which should you buy?
This is the decision that shapes a first kit more than the brand on the microphone, and it is where most beginners are pointed the wrong way.
A condenser microphone is more sensitive and captures more detail, which is why studios use them. In an untreated room that sensitivity works against you: it picks up the room as enthusiastically as it picks up you, so you get the echo off the walls, the fridge in the next room and the keyboard under your hands. A dynamic microphone is less sensitive and far more directional, so it hears mostly what is directly in front of it and rejects most of the rest.
For a spare room, a home office or a corner of a bedroom, that rejection is worth more than the extra detail. It is the reason broadcast and radio studios use dynamics for speech even though they could afford anything, and the reason a modest dynamic in a normal room usually beats an expensive condenser in the same room.
Buy a condenser only if you have a genuinely quiet, soft-furnished space and you know it. Otherwise the dynamic is the safer purchase, and it stays useful later if you ever do treat the room.
How should you set the microphone up?
Positioning is free and it makes more difference than an upgrade. Four things to get right before you record anything you intend to publish.
Get close
A hand's width from the mic is the usual starting point, roughly 15 to 20 cm. Close working distance raises your voice relative to the room, which is the cheapest way to sound like you are in a better space than you are. This is what the boom arm is really for.
Speak across it, not into it
Angle the mic slightly off to one side of your mouth rather than pointing straight down your airflow. Plosive p and b sounds are blasts of air, and letting them pass across the capsule rather than into it does most of the work a pop filter is credited with.
Set gain so peaks sit short of the top
Record a normal-volume test at your loudest, most animated moment, not a polite level check. Aim for the meter to peak comfortably below maximum so nothing clips. Digital clipping cannot be repaired afterwards; quiet audio can be raised.
Monitor on closed-back headphones
Closed-back cups stop the playback leaking out and being recorded again by the mic. Listening while you record is also how you catch a rustling sleeve or a hum at the time, rather than discovering it in the edit.
How do you treat a room for nothing?
Room treatment sounds expensive and mostly is not. What makes home recordings sound amateur is reflection: your voice bouncing off hard parallel surfaces and arriving at the mic a fraction of a second after the direct sound.
Soft, irregular things absorb and scatter that. A rug on a hard floor, a filled bookshelf, curtains, an upholstered sofa and a made bed all count. The most effective single move in a bare room is usually to hang a duvet or thick curtain on the wall you face while speaking, because that is where the first strong reflection comes from.
Avoid recording in the middle of an empty room, in a kitchen or bathroom, or with your back to a bare wall. If you have a wardrobe full of clothes, recording next to it with the doors open genuinely works and costs nothing, which is why it remains a common trick among people who could afford otherwise.
Do this before buying acoustic foam. Foam panels are frequently bought too thin and placed too sparsely to affect speech frequencies, and a room already full of soft furnishings may need nothing more.
What should you upgrade first?
Upgrade in response to a limitation you have actually hit, not to a spec sheet. In practice the order tends to be the same for most people.
First, the room, because it constrains everything else and costs least. Second, the boom arm if you started with a desk stand, since it is what lets you work close and keeps desk knocks out of the recording. Third, an audio interface and an XLR microphone, but only when you need something USB cannot do: recording two people locally on separate tracks is the usual trigger.
Guests are the other common forcing function. One microphone cannot record two people well in the same room, and a second mic plus an interface is a bigger step than beginners expect. If interviews are the plan from the start, it is worth knowing that before buying, rather than replacing a single-mic kit six months in.
What rarely repays early money: studio monitors, paid editing software, and a better microphone bought while the room is still bare.
Read next: if you are not sure a podcast kit is the one you need, the creator kit finder takes three questions and matches your format, camera and budget to a short kit. Once the kit is chosen, gain staging is the next thing worth getting right: it costs nothing, and clipping is the one recording fault that cannot be repaired afterwards.