Best Microphone for TikTok Cooking Videos
Kitchen noise ruins cooking videos. The best microphones for clear voiceover while your hands are busy - clip-on wireless mics, shotguns and phone options.
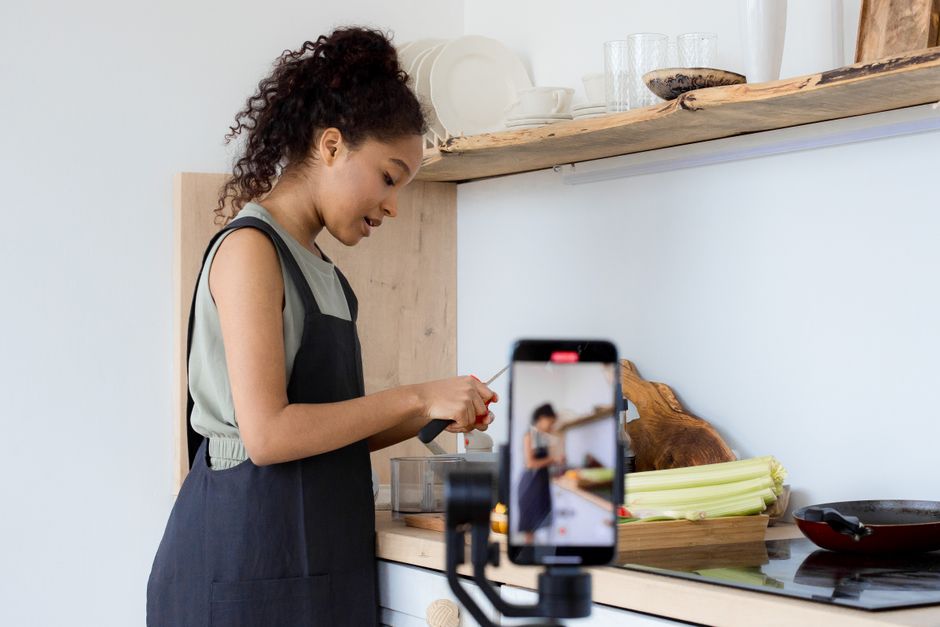
A kitchen is one of the worst places to record audio: hard surfaces bounce sound around, and extractor fans, sizzling pans and clattering utensils all compete with your voice. The fix is to get the microphone close to your mouth and away from the noise, which is exactly what a clip-on lavalier microphone does, leaving your hands free to cook.
Why does kitchen audio sound so bad?
Two reasons. First, a phone held or propped a metre away captures your voice and the entire room at similar volume, so the fan and the sizzle sit right on top of your words. Second, kitchens are full of hard, reflective surfaces, tiles, worktops, appliances, that create echo. Moving the mic close to your mouth solves both at once, because your voice arrives loud and direct while the room noise stays comparatively distant.
What microphone should you use for cooking videos?
A clip-on wireless mic is the best all-round answer. Clip the little transmitter to your collar and your voice stays clear and consistent as you move around the kitchen, hands free, with the receiver plugged into your phone or camera. Systems like the Rode Wireless GO (a compact clip-on wireless microphone system with a transmitter that clips to your clothing and a receiver on the camera) and the DJI Mic are designed for exactly this. If you tend to film silently and add narration later, a USB microphone recorded at your desk is a cheaper route to clean voiceover.
Where should the mic actually go in a kitchen?
Placement beats specification in a kitchen, and by a wide margin. The same mic can sound broadcast-clean or unusable depending on where it sits.
The rule that governs everything is that doubling the distance between your mouth and the mic roughly quarters the sound power reaching it, while the room noise stays where it is. That is why a lavalier clipped a hand's width below your chin beats a better microphone on a stand a metre away: you are not making the room quieter, you are making yourself louder relative to it.
For a clip-on, the collar or apron strap is the usual spot, angled away from the hob. Two things ruin more kitchen takes than anything else: fabric brushing the capsule as you reach and stir, and the mic pointing straight at a pan. A foam windshield handles the first; turning the capsule fifteen degrees off-axis from the hob handles the second.
If the mic is off-camera on a stand, get it above and in front of you angled down toward your mouth, out of the top of frame. Pointing down from above also means the hob is behind the pickup pattern rather than in front of it.
Do you need a wireless mic or can you record voiceover?
Both work; it depends on your style. Recording your voice live with a wireless mic keeps the energy and reactions of real-time cooking, which suits spontaneous, personality-led videos. Recording a voiceover afterwards gives you a silent, controlled take and lets you script and re-do lines, which suits polished, instructional videos. Many creators do both: live audio for the fun moments, voiceover for the clear step-by-step.
How do you deal with sizzle and the extractor fan?
This is the problem specific to cooking video, and it splits into two very different noises.
Sizzle is broadband and it is also the point. Nobody wants a silent pan. The goal is to have it present and under your voice rather than competing with it, which is a placement and level question rather than something to remove afterwards. Getting the mic close to you does most of it.
Extractor noise is steady, low and genuinely fixable. Because it is constant, noise reduction handles it far better than it handles sizzle, and most editors will pull a noise profile from a couple of seconds of fan-only audio. The cheaper fix is to shoot the talking with the fan off and turn it on for the cooking shots, then let the edit carry the difference.
The order that works is: get close, turn the fan off while you talk, and only then reach for processing. Noise reduction applied to a distant, fan-heavy recording tends to leave the voice sounding underwater, and no amount of it recovers a take made from across the room.
How do you reduce kitchen noise?
Beyond the mic, a few habits help:
- Turn the extractor fan down or off while you talk, then back on for cooking-only shots
- Use the mic's furry windshield to soften harsh, close sounds
- Record in quieter moments and cut around the noisy ones in editing
- Add soft items nearby, a tea towel, a chopping board on end, to break up echo just out of frame
What should you fix in the edit?
Three passes cover almost everything, in this order.
Noise reduction, gently
Pull a profile from a moment of room tone with the fan running and no speech, then apply it lightly. Too much is what produces the watery, phasey voice that reads as low quality even to people who cannot name what is wrong.
A high-pass filter
Roll off the very low frequencies, typically somewhere around 80 to 100 Hz for a speaking voice. Fridge hum, extractor rumble and handling thumps live down there, and almost nothing in your voice does.
Level it last
Compress or normalise after cleaning rather than before, so you are not amplifying noise you were about to remove. Phones and social platforms play back loud, so consistent level matters more than peak volume.
The one thing worth doing before any of this is listening on the device your audience uses. A mix that sounds balanced on headphones can lose the voice entirely through a phone speaker, which is where most short-form cooking video is actually watched.